
How to Solve a Rubik’s Cube: The Beginner-Friendly Layer-by-Layer Method
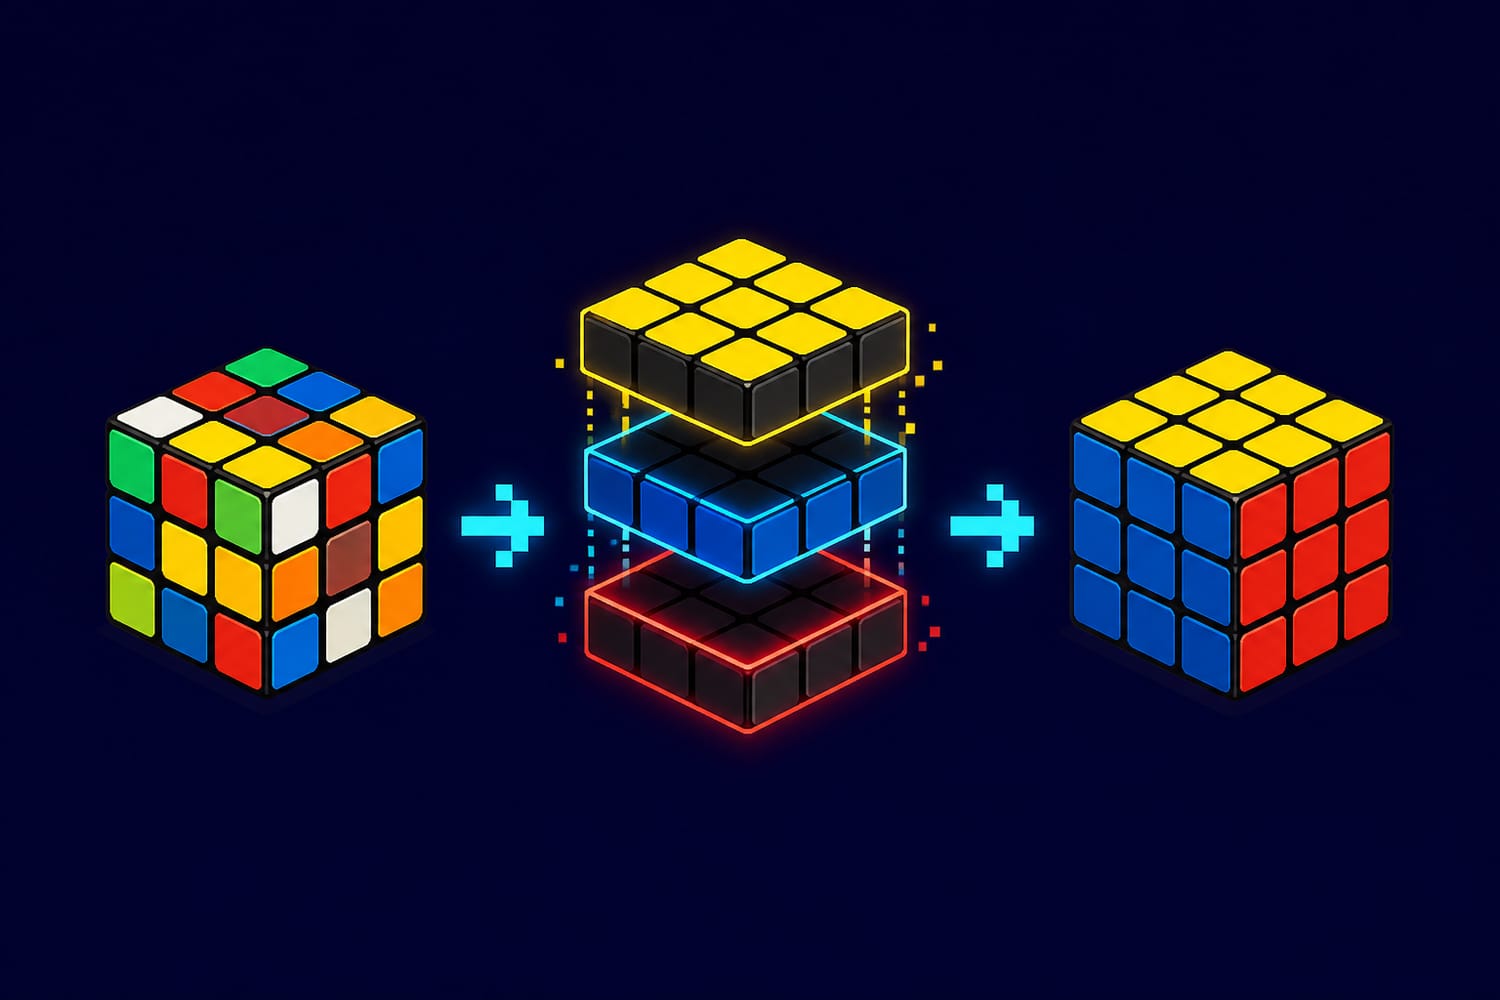
To solve a standard 3×3 Rubik’s Cube, work in stages: make a white cross, finish the white layer, solve the middle layer, then complete the yellow layer. You do not need to plan every twist in advance. Each stage gives you a smaller, more manageable goal—and a way to check your progress before moving on.
The secret is to solve pieces, not just colored squares. A face can look white while some of its pieces are still in the wrong places. This guide will help you put each piece where it belongs, using a few short move sequences along the way.
Get to Know Your Cube
A 3×3 cube has three kinds of pieces:
- Centers have one color. They stay in the middle of their faces and tell you which color belongs on each side.
- Edges have two colors and sit between corners.
- Corners have three colors.
For example, a white-and-red edge belongs between the white and red centers. A white-red-blue corner belongs where those three faces meet. Thinking in color combinations makes the cube far less mysterious.
We’ll use white as the first layer and yellow as the last. Check that your cube has white and yellow on opposite sides; that is the arrangement used by this guide. Once the white cross is built, keep white on the bottom and yellow on top until the cube is solved.
How to Read the Moves
A letter names the face you turn: U is up, D down, F front, R right, and L left. Turn that face clockwise as though you were looking directly at it. An apostrophe reverses the direction, so R' means “turn the right face counterclockwise.” A 2 means a half-turn: U2 turns the upper face 180 degrees.
A sequence of moves is called an algorithm. Go slowly at first, and complete every move even if the cube looks temporarily worse.
Step 1: Build the White Cross
For a gentle start, make a daisy: hold the yellow center on top and bring the four white edge stickers around it. Do not worry about matching their other colors yet.
Now look at one daisy edge’s other color. If it is white-and-red, turn the top until its red sticker lines up with the red center on the side. Turn that side face twice to move the edge from the top to the white face on the bottom. Repeat for the other three edges.
Your result should be more than a white plus sign. Each cross edge must also match its neighboring side center. If one does not, fix it now; the later steps depend on this foundation. Rubik’s official 3×3 solve guide also demonstrates the daisy-to-cross approach.
Step 2: Finish the White Layer
Keep the white cross underneath. Find a corner in the top layer that contains white, and read its other two colors. Turn the upper face until that corner sits directly above the place where those two side colors meet.
Rotate the whole cube around its vertical axis, if needed, so the target is at your front-right. Then repeat this four-move sequence until the white corner is correctly placed on the bottom:
R U R' U'
Check all three stickers before moving to the next corner. If a white corner is trapped in the bottom layer but is twisted or in the wrong spot, hold it at the front-right-bottom and perform the same sequence to bring it up. Then position and insert it normally.
This is a useful example of the divide-and-conquer approach to difficult puzzles: you are completing one reliable piece at a time, not trying to tidy the whole cube at once.
Step 3: Solve the Middle Layer
With white still on the bottom, find a top-layer edge containing no yellow. Turn the top until the edge’s sticker facing you matches the front center. The sticker on top tells you whether that edge belongs in the middle-layer slot to the right or left.
If it belongs on the right, use:
U R U' R' U' F' U F
If it belongs on the left, use:
U' L' U L U F U' F'
These sequences briefly move a white corner before restoring it, so finish the full sequence before judging the result. Repeat until all four middle-layer edges match their centers. If an edge you need is stuck in the middle layer incorrectly, use the appropriate sequence to replace it with a top-layer edge. The displaced edge will come up, ready to insert correctly.
At this checkpoint, the entire bottom two layers should be solved. If they are not, pause and find the first piece that went astray rather than pushing ahead.
Step 4: Make a Yellow Cross
Look straight down at the yellow face and ignore its corners. Count only the yellow edge stickers around the yellow center. You may see a dot (no yellow edges facing up), an L shape, a straight line, or a cross.
Use this sequence:
F R U R' U' F'
Your starting position matters. For an L, hold its yellow edges at the back and left of the top face. For a line, hold it horizontally, left to right. A dot can start in any direction. After the sequence, look at the new pattern and repeat as needed until you have a cross. The yellow edges do not have to match the side centers yet.
If distinguishing the L from the line feels awkward, practice looking at the top without turning it first. Puzzles Arcade’s guide to practicing pattern rotation explores that same visual skill in other puzzles.
Step 5: Match the Yellow Cross to the Sides
Turn only the top face and count how many yellow cross edges have side stickers matching their centers. If all four match, move on. Otherwise, look for two matches.
When the matching edges are next to each other, hold them at the back and right, then perform:
R U R' U R U2 R'
Turn the top again to check whether all four edges now match. If the two matching edges were opposite each other, perform the sequence once from any side; then find the new adjacent pair, hold it at back and right, and repeat. For this step, judge only the edges. The yellow corners can still be anywhere.
Step 6: Put the Yellow Corners in the Right Places
A yellow corner is in the right place if its three colors belong between the three centers around it. Its yellow sticker does not need to face up yet.
Find a correctly placed corner and hold it at the front-right-top. Then perform:
U R U' L' U R' U' L
Check the corners again. If none is correctly placed at the start, perform the sequence once from any side, then look for one. With a correct corner at front-right-top, repeat the sequence if necessary until all four corners occupy the right positions. Their stickers may still point in the wrong directions—that is the final job. For a closer look at this distinction, see Ruwix’s guide to positioning yellow corners.
Step 7: Turn the Yellow Corners to Finish
Keep yellow on top. Place a corner whose yellow sticker is not facing up at the front-right-top, and repeat:
R' D' R D
Stop repeating only after completing the entire four-move sequence and seeing yellow face up on that corner. Now turn only the top layer to bring another unfinished yellow corner to front-right-top. Repeat until every yellow corner faces up.
This last step can be startling: the lower layers may look scrambled while you work. Do not rotate the whole cube or try to repair them between corners. Keep your original front face, finish each four-move sequence—including the final D—and use top-layer turns to move between corners. Once the last corner is oriented, turn the top if needed to align the side colors.
Make the Method Your Own
Your first solve is about understanding the checkpoints, not racing a clock. If you lose your place, ask: Are the white layer and middle layer still complete? Do I have a yellow cross? Are its side colors matched? That quick inspection tells you where to resume.
You can use Puzzles Arcade’s pre-move puzzle checklist to build the habit of identifying your immediate goal before twisting. Learn one stage, celebrate that small win, then add the next. Eventually, what looked like a jumble of colors becomes a sequence of familiar, solvable patterns.

